
Stay Connected with Low Carb Glow

Fermented Food Recipes Low Carb: Homemade Kimchi, Sauerkraut, and More for Gut Health
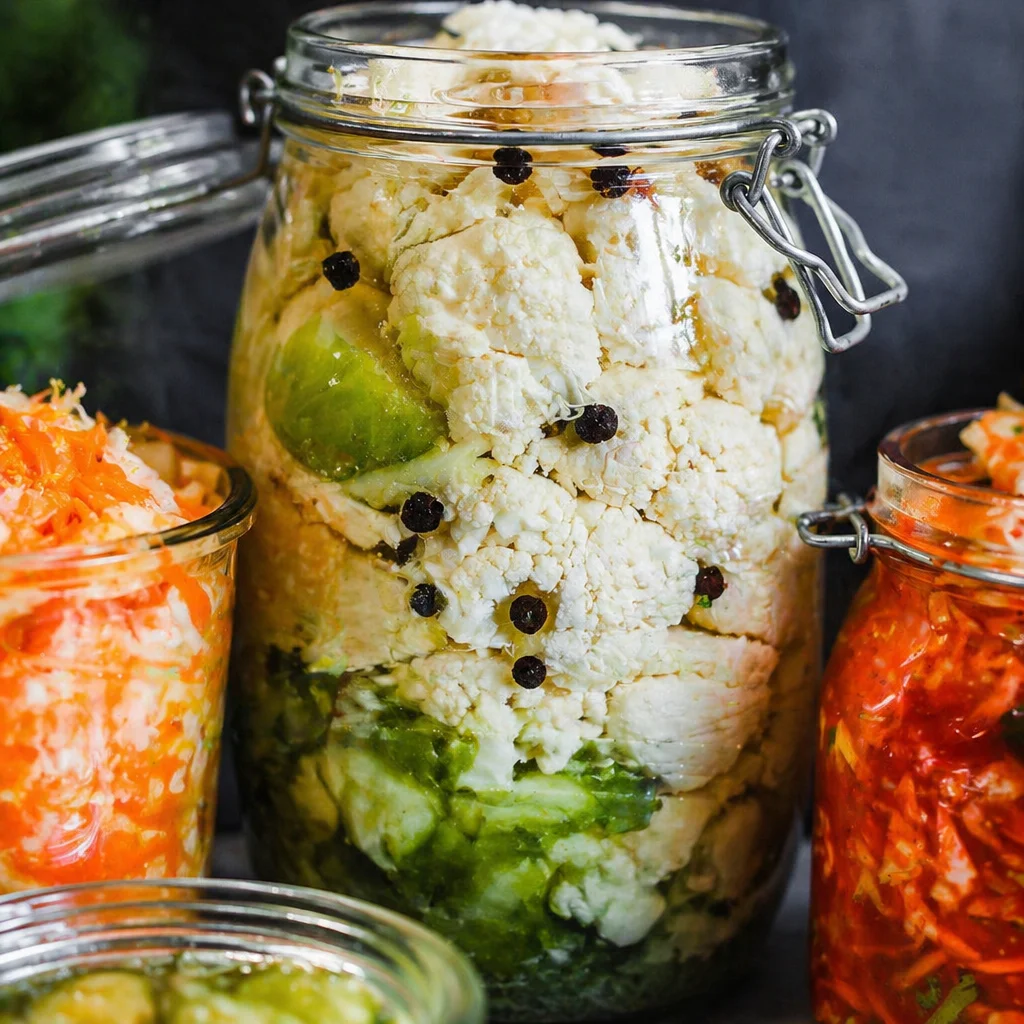
fermented food recipes low carb were not on my radar a few years ago. I was that person who ate “healthy” but still felt puffy, snacky, and kind of off after meals, especially when I was trying to keep carbs down. Then I started reading about gut health in plain English, and one helpful place to begin is this low carb gut health guide that connects the dots without making your eyes glaze over. I’m not a doctor, just someone who likes experimenting in the kitchen and paying attention to how food makes me feel. Fermented veggies ended up being the easiest thing to try because you can literally start with cabbage, salt, and a jar. And once you taste homemade kimchi or sauerkraut, it’s hard to go back.
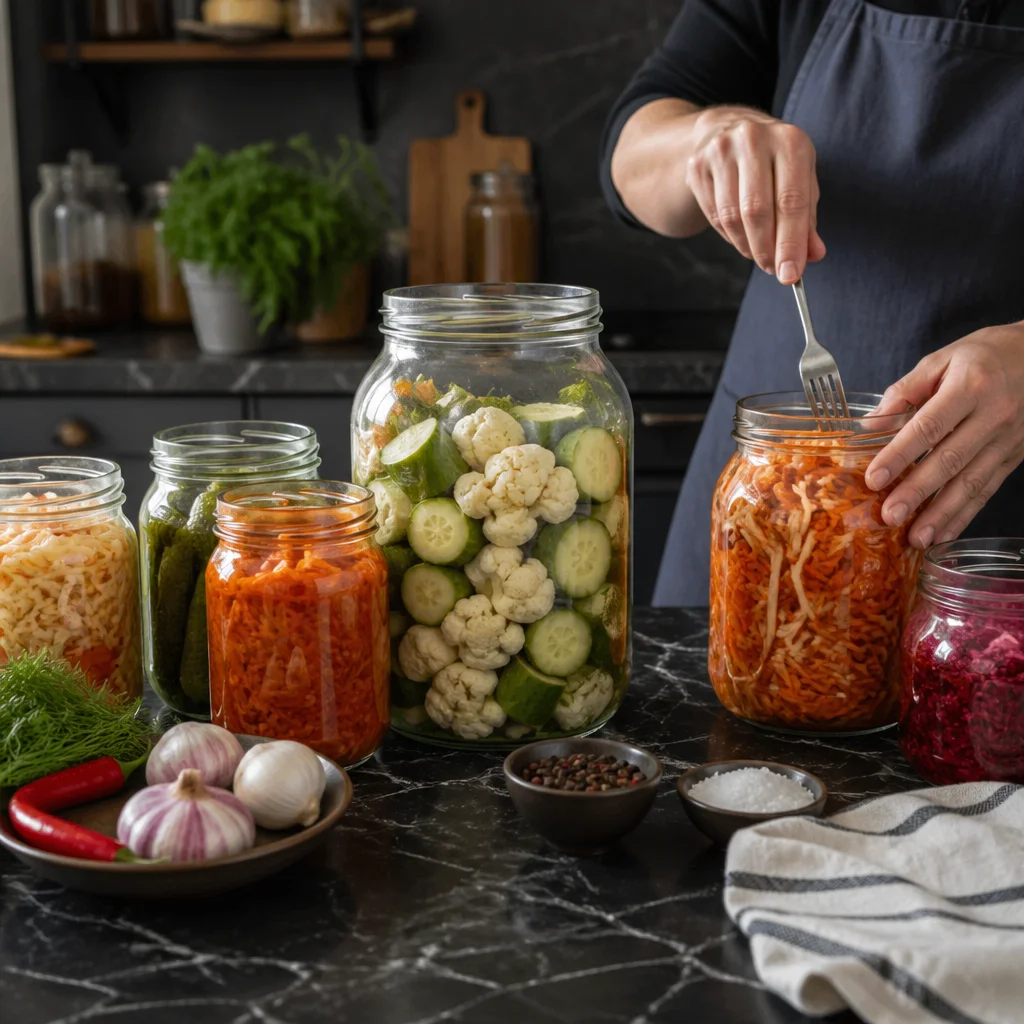
Introduction: Maya’s fermentation journey healing her gut one jar at a time
I have a friend named Maya who kicked off my whole fermentation phase. She brought over a tiny jar of homemade sauerkraut one day, like it was no big deal, and told me to try a forkful before dinner. I did, and it was crunchy, salty, and weirdly refreshing, like pickles but more alive. Maya said she started making it when her stomach was acting up and she wanted something simple that fit her low carb routine. Watching her heal her gut one jar at a time made me curious, so I started my own little jar lineup in the fridge. If you’re new, don’t worry, I’ll keep it simple and very doable.
Why fermented foods are the missing piece in keto gut health
If you’re eating low carb or keto, you might already be doing the big stuff right: more protein, fewer sugars, less processed junk. But sometimes digestion still feels sluggish, or you miss that “something” that makes meals feel balanced. Fermented foods can help because they bring in helpful bacteria and acids that support digestion, and they also add big flavor without adding a bunch of carbs.
Here’s what I like about them in real life, not textbook life:
They add crunch and tang to meat and eggs, which can get boring fast.
They’re portion friendly because you usually eat a little, not a whole bowl.
They’re budget friendly since cabbage is cheap and lasts forever.
Also, if you’re building a whole routine around gut friendly meals, it’s nice to have options beyond yogurt. I keep a rotation of recipes similar to the ones in these gut friendly low carb recipes so I’m not guessing every week.
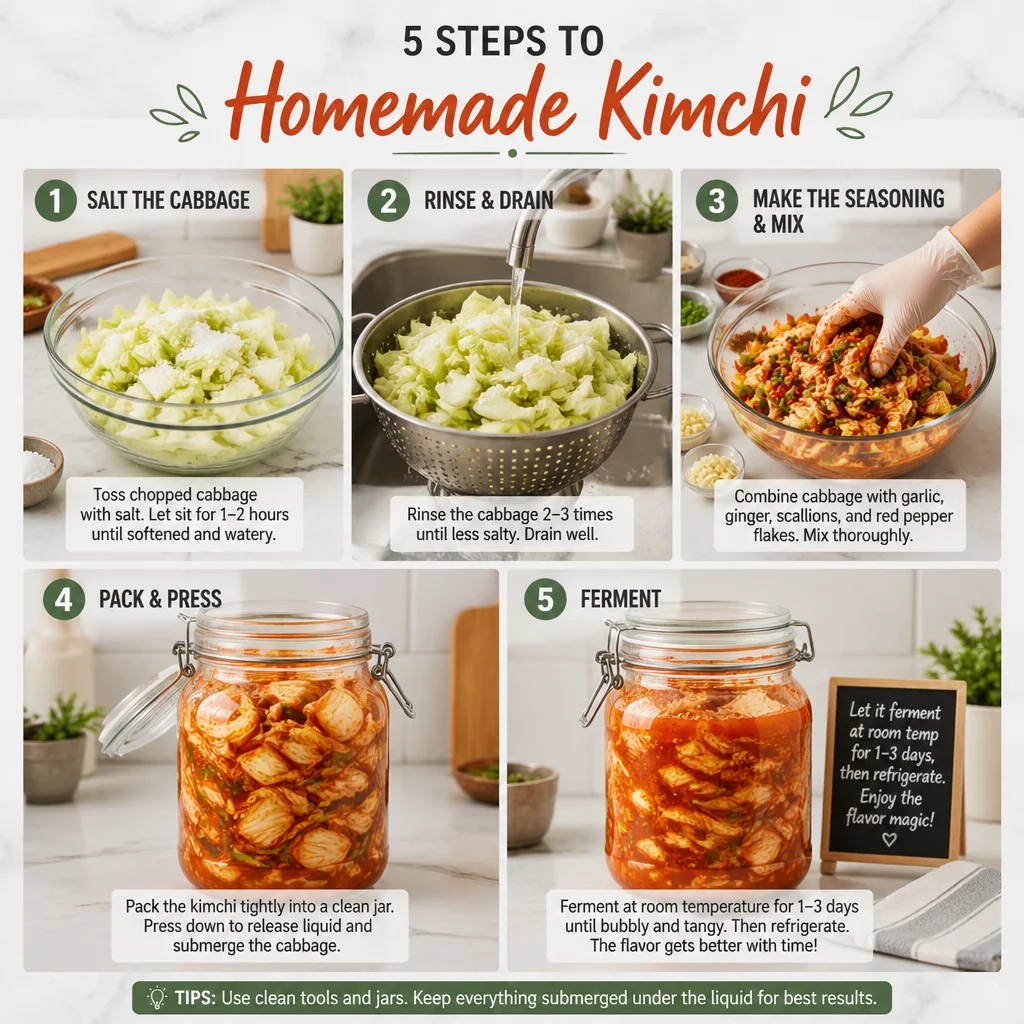
Basic kimchi recipe (step-by-step with timeline)
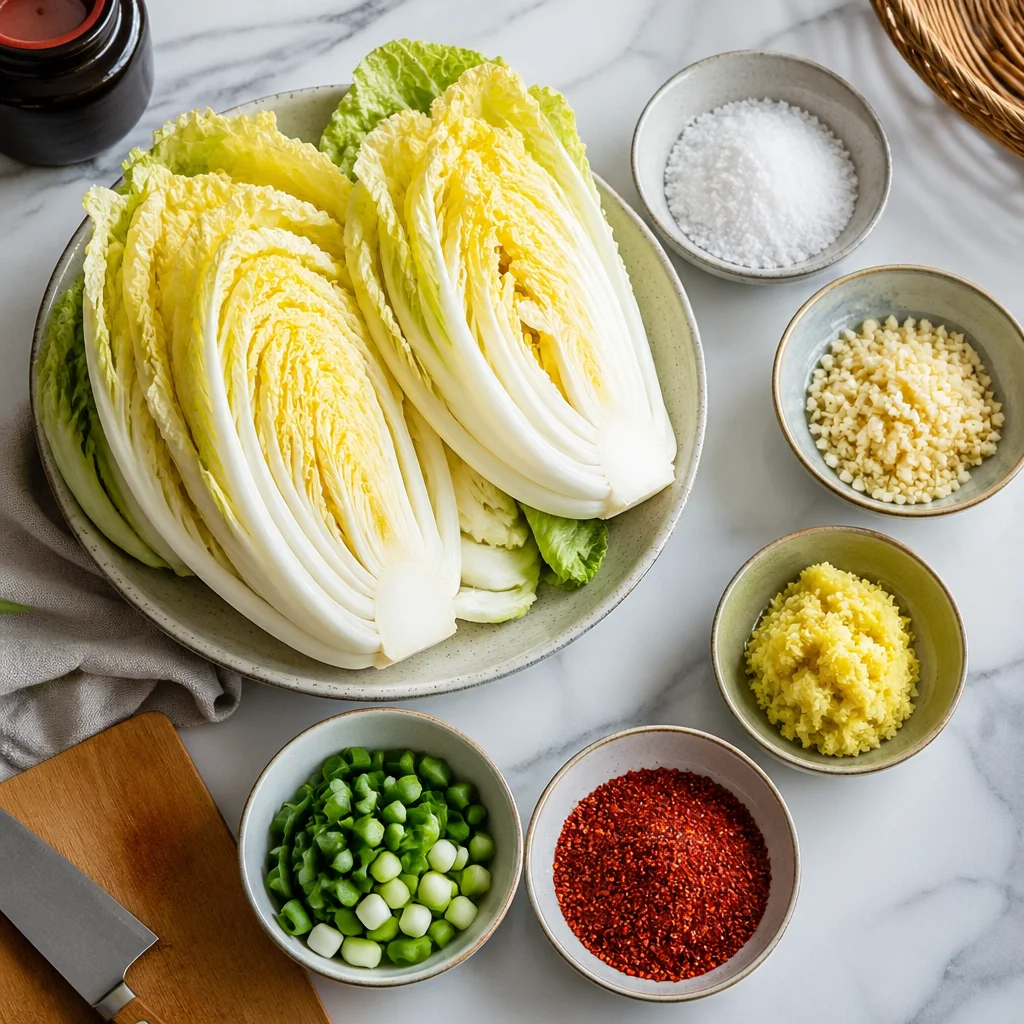
Kimchi sounds intense because people picture big crocks and special pepper flakes, but you can make a very legit batch with a bowl, salt, and a jar. I make mine on a Sunday afternoon when I’m already puttering around the kitchen.
My easy low carb kimchi method
- Napa cabbage, about 2 pounds (regular green cabbage works too, it’s just crunchier)
- Salt, 1 to 2 tablespoons (start smaller, you can adjust)
- Garlic, 4 to 6 cloves, minced
- Ginger, 1 tablespoon, grated or minced
- Scallions, 4, chopped
- Korean red pepper flakes (gochugaru), 1 to 3 tablespoons to taste
- Optional: a little fish sauce or soy sauce if you tolerate it
Step 1: Salt the cabbage (30 to 90 minutes)
Chop cabbage into bite size pieces. Toss with salt in a big bowl. Let it sit and soften. You want it to get bendy and release liquid. Stir it once or twice.
Step 2: Rinse and drain (5 minutes)
Rinse the cabbage quickly to remove excess salt, then drain well. I squeeze a handful gently so it’s not dripping.
Step 3: Mix the flavor paste (2 minutes)
In the same bowl, mix cabbage with garlic, ginger, scallions, and gochugaru. It should look lightly coated, not swimming. If it feels dry, add a splash of water.
Step 4: Pack the jar (5 minutes)
Pack it down firmly in a clean jar. Press until the cabbage is under its own liquid. Leave about an inch of space at the top. Close the lid, but not so tight that nothing can breathe. If you have a fermentation lid, great, but a regular lid works if you “burp” it daily.
Step 5: Ferment timeline
Day 1 to 2: It starts to smell like spicy pickles. Tiny bubbles might show up.
Day 3 to 5: Flavor gets tangier and more kimchi like. This is my sweet spot.
After that: Move it to the fridge when you love the taste. Cold slows fermentation so it stays steady.
How I eat it: with eggs, next to steak, tucked into lettuce wraps, or straight from the jar when I need something punchy. If you want a full meal plan vibe, kimchi is amazing next to quick proteins like air fryer crispy low carb chicken wings.
Basic sauerkraut recipe
Sauerkraut is the gateway ferment because it’s basically cabbage plus salt plus patience. It’s also one of my favorite fermented food recipes low carb because the ingredient list is so short it feels like cheating.
What you’ll need: green cabbage, salt, a jar, and something to press it down (even a smaller jar works).
How I make it:
Slice cabbage thin. Add it to a bowl and sprinkle with salt, about 1 and 1/2 teaspoons per pound of cabbage. Massage it with your hands for a few minutes until it starts getting juicy. Pack it tightly into a jar and press down so the cabbage is submerged in its own brine. Leave some space at the top. Let it sit at room temp out of direct sunlight.
Timing:
You can start tasting around day 5. I usually like it best at 7 to 14 days. Once it tastes good, store it in the fridge.
Little tip: If you do not have enough liquid to cover the cabbage, mix a bit of salty water (1 teaspoon salt per cup water) and add just enough to cover.
Fermented garlic recipe
Fermented garlic is for you if you love garlic but want it softer and less sharp. It turns mellow and slightly tangy, and I swear it makes quick meals taste like you tried harder than you did. It also fits fermented food recipes low carb really nicely because it’s mostly a flavor booster, not something you eat in huge amounts.
Easy method:
Peel a couple heads of garlic. Put cloves in a small jar. Make a brine with 1 teaspoon salt per cup of water, stir to dissolve, then pour over garlic to cover. Keep the cloves under the brine. Close the lid loosely and ferment at room temp for about 2 to 3 weeks. Taste one. If it’s tangy and pleasant, move it to the fridge.
How I use it: mash a clove into salad dressing, stir into mayo for a quick dip, or toss into pan sauces. It’s also great with veggie sides, and if you like quick cooking gadgets, you’ll probably enjoy pairing it with ideas from these low carb air fryer recipes.
Safety guide (signs of good vs bad fermentation)
This part matters. Fermentation should smell pleasantly sour, like pickles or yogurt vibes, not like rot. Trust your senses, and keep things clean. You do not need to sterilize everything like canning day, but do wash jars well with hot soapy water.
My quick safety checklist
Good signs: bubbles, tangy smell, sour taste, cabbage staying under brine, a little white film on top (usually harmless yeast called kahm, skim it).
Bad signs: fuzzy mold in green, blue, or black, slimy texture that is truly gross (not just soft), smell like garbage, or anything that makes you recoil. When in doubt, throw it out.
Big rule: keep veggies submerged. Oxygen is what invites the wrong stuff.
Jar tip: Put the jar on a small plate the first few days. Sometimes brine bubbles up and leaks, and you will thank yourself for not staining the counter.
Incorporating fermented foods without overdoing FODMAPs
Okay, real talk, sometimes fermented foods hit a little too hard at first. If you’re sensitive to FODMAPs, or you’re just coming from a very low fiber diet, ease in. You do not need to eat a cup of kimchi on day one to be a gut health hero.
What worked for me:
Start tiny, like 1 teaspoon with a meal, then slowly build to 1 tablespoon.
Pick one ferment at a time so you can tell what agrees with you.
Eat it with protein like eggs, chicken, or beef, not on an empty stomach.
Watch the extras like onion heavy kimchi or very garlicky ferments if you know those trigger you.
If you want to keep meals simple while you experiment, I’m a big fan of prepping a few basics and then adding fermented toppings. Something like 5 ingredient meal prep low carb style cooking makes it easier to stay consistent without feeling restricted.
FAQ: Is kimchi keto? Can fermented foods cause bloating at first?
Q: Is kimchi keto?
A: Usually, yes. Traditional kimchi is mostly cabbage and seasoning, so it’s generally low carb per serving. Just watch for versions with added sugar, rice paste, or lots of sweet fruit. Homemade makes it easier to control.
Q: Can fermented foods cause bloating at first?
A: Yep, sometimes. Your gut may need time to adjust. Start with small amounts and build slowly. If you feel rough, pause for a few days and restart smaller.
Q: How much should I eat per day?
A: For most people, 1 to 2 tablespoons with a meal is a great start. More is not always better, especially at the beginning.
Q: Do I have to use special jars or weights?
A: Not really. A clean jar and something to keep veggies submerged is enough. You can use a smaller jar as a weight, a clean zip bag filled with brine, or a simple fermentation weight if you want to upgrade.
Q: How do I store fermented foods once they taste right?
A: Move them to the fridge with a tight lid. Cold storage slows fermentation and keeps the taste steady. They can last weeks to months if they stay clean and submerged.
A tasty way to keep your gut happy, one crunchy bite at a time
If you’ve been curious about fermented food recipes low carb, I hope this makes it feel way less intimidating. Start with sauerkraut if you want the simplest win, then try kimchi when you’re ready for spice, and fermented garlic when you want an easy flavor upgrade. Keep it clean, keep it submerged, and trust your nose. If you want to dig deeper into low carb fermentation ideas, this article on Low Carb Fermented Foods – Cultures For Health is a solid read, and so is Fermented Foods on Keto | Improve Your Gut Health Today for a keto focused angle. Now go grab a cabbage, find a jar, and give your future self something delicious to snack on straight from the fridge.
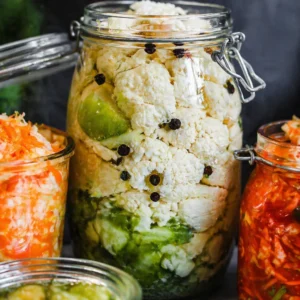
Basic Kimchi, Sauerkraut, and Fermented Garlic

Explore simple recipes for creating homemade low carb fermented foods, enhancing gut health and flavor in your meals.
Ingredients
For Basic Kimchi
- 2 pounds Napa cabbage (regular green cabbage works too) Chop into bite-sized pieces.
- 1 to 2 tablespoons Salt Start with the smaller amount, adjust to taste.
- 4 to 6 cloves Garlic, minced
- 1 tablespoon Ginger, grated or minced
- 4 Scallions, chopped
- 1 to 3 tablespoons Korean red pepper flakes (gochugaru) To taste, adjust for spice level.
- optional Fish sauce or soy sauce Use if tolerated.
For Basic Sauerkraut
- 1 head Green cabbage Slice thin.
- 1.5 teaspoons Salt Per pound of cabbage.
For Fermented Garlic
- 2 heads Garlic, peeled
- 1 teaspoon Salt Per cup of water for brine.
Instructions
Making Basic Kimchi
- Chop Napa cabbage into bite-sized pieces and toss it with salt in a big bowl. Let it sit for 30 to 90 minutes to soften.
- Rinse the cabbage quickly to remove excess salt, then drain well.
- In the same bowl, mix cabbage with minced garlic, grated ginger, scallions, and Korean red pepper flakes until lightly coated.
- Pack the mixture firmly into a clean jar, ensuring it's submerged in its own liquid, and leave about an inch of space at the top.
- Close the lid loosely to allow for fermentation. Burp it daily to release gas.
- Ferment for 3 to 5 days or until tangy and flavorful, then store in the fridge.
Making Basic Sauerkraut
- Slice green cabbage thin and add it to a bowl.
- Sprinkle with salt and massage it with your hands until it releases juice.
- Pack tightly in a jar, ensuring cabbage is submerged, and leave space at the top.
- Let sit at room temperature for 5 to 14 days, tasting occasionally until desired flavor is reached. Store in the fridge.
Making Fermented Garlic
- Peel garlic heads and put cloves in a small jar.
- Make a brine with water and salt, then pour over the garlic to cover.
- Keep cloves submerged and let ferment at room temperature for 2 to 3 weeks before refrigerating.
Notes
Keep all tools and jars clean to prevent spoilage. Start with small amounts of fermented foods in your diet to gauge your tolerance.