Stay Connected with Low Carb Glow

Zucchini Lasagna (No Noodles)

- Introduction & Comfort Food Reimagined
- Zucchini vs Pasta Noodles
- Ingredients List
- How to Slice Zucchini for Lasagna
- Removing Excess Water
- Layer-by-Layer Assembly
- Baking Instructions
- Make-Ahead Option
- Storage & Freezing
- Nutrition Information
- Common Questions
- Let’s Get Dinner On The Table
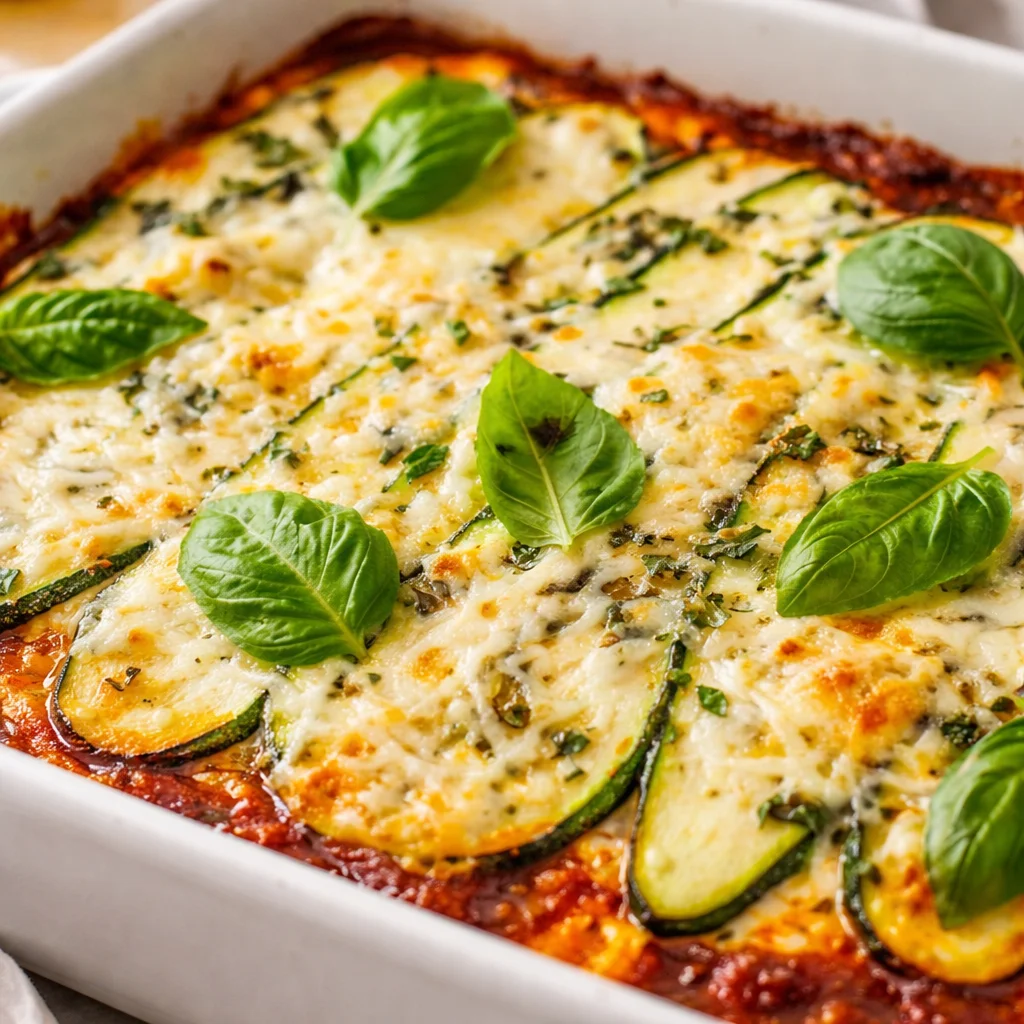
Zucchini lasagna is what I make when I’m craving something cozy but I still want to feel light after dinner. I make Zucchini Lasagna (No Noodles) on weeknights when life feels busy, and it always hits the spot. It tastes like all the best parts of lasagna, just without the heavy slump after. If you’ve ever dealt with soggy veggie bakes, don’t worry, I’ve got simple tricks to keep things firm and satisfying. By the end of this post, you’ll know exactly how to slice, season, and bake for a not-watery, cheesy, family-pleasing dinner.
Introduction & Comfort Food Reimagined
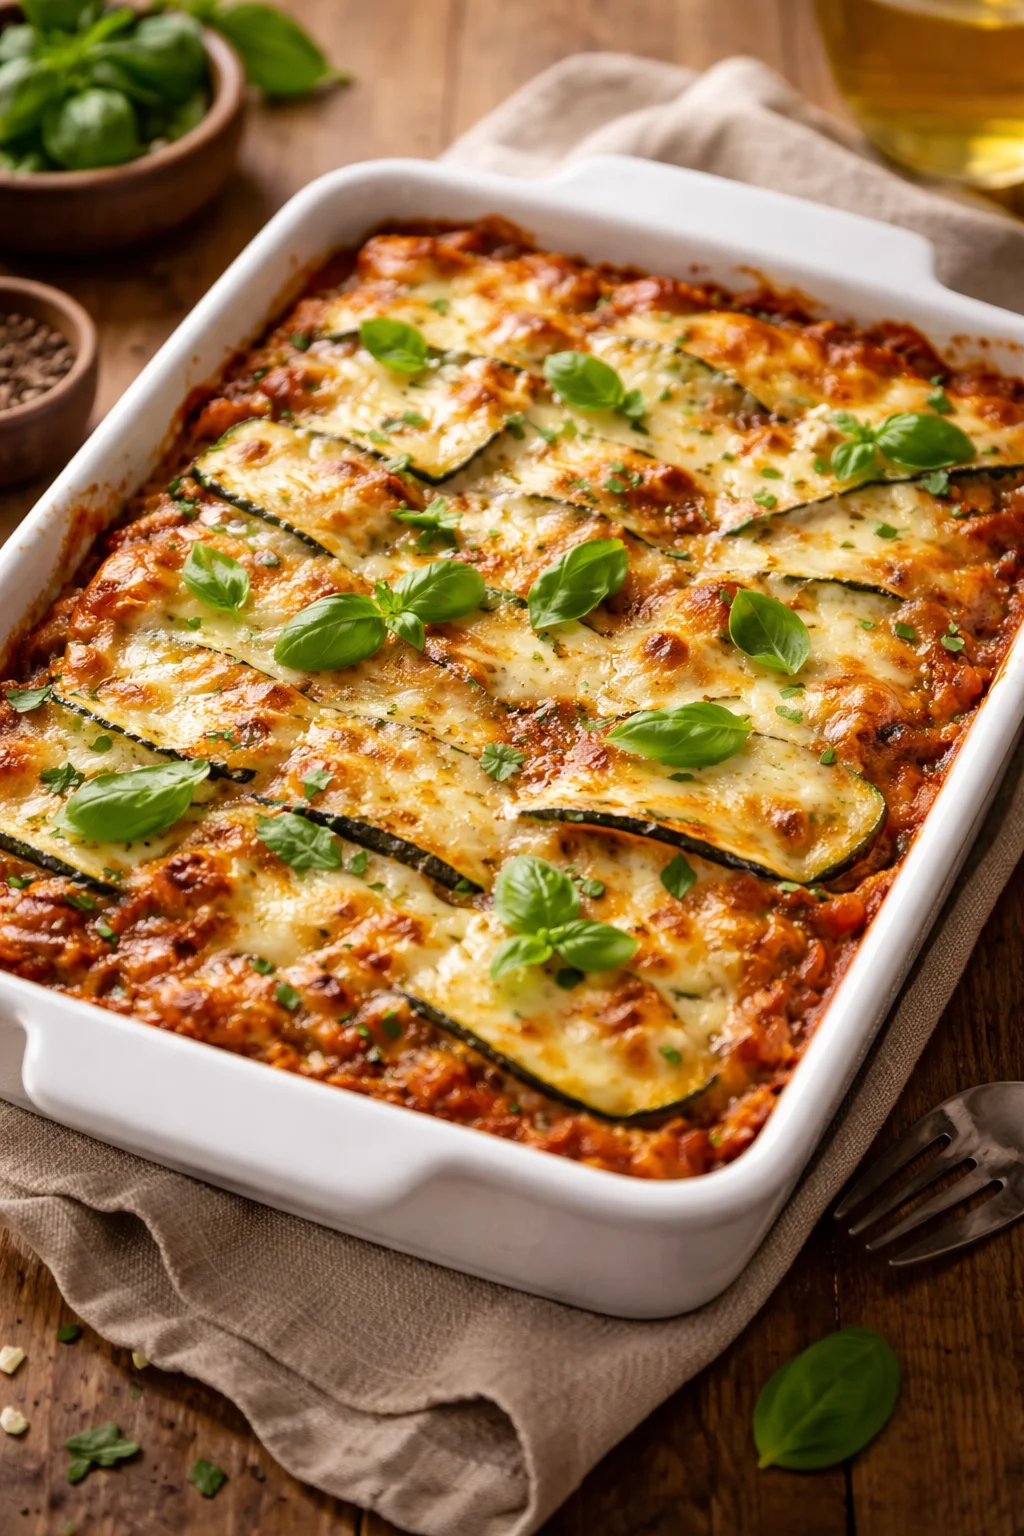
Lasagna is classic comfort food for a reason. It’s saucy, cheesy, and layered with love. But sometimes the noodles feel like too much for a Tuesday night. That’s where Zucchini Lasagna (No Noodles) has completely changed the game for me. You still get the rich tomato flavor, the creamy ricotta, and the golden melty top. Only difference is, we swap noodles for tender zucchini ribbons that bake up beautifully. It’s the kind of dish that makes you think, I could eat like this every week and feel good about it.
I started making this version when a friend brought over a basket of garden zucchini. After a couple of soggy attempts, I figured out a no-fuss method to manage moisture and build sturdy layers. Now it’s a reliable go-to, and honestly, it tastes like comfort with a fresh twist. If you’re easing into more veggie-forward meals or just want a lighter spin on a favorite, you’ll love this one.
Before we jump in, quick note: pick good zucchini. Medium size is best. Small ones are sweet and tender. Giant ones can be watery and seedy. You’ll get way better texture if you start with the right produce.
See my favorite low-carb swaps if you’re curious about trying this trick with other recipes too.
Zucchini vs Pasta Noodles
Let’s talk trade-offs. Pasta sheets bring that classic bite, but they also bring extra carbs and heaviness. Zucchini layers, when sliced evenly and prepped right, deliver a fresh, naturally sweet flavor that plays so well with tomato and cheese. The bake still feels indulgent, just a little lighter on the stomach.
Texture-wise, zucchini won’t ever be identical to pasta, but that’s not the goal. When you slice it about 1/8 to 1/4 inch and remove some water, it keeps its shape and holds layers. You get clean slices if you let it rest after baking. And the taste? Imagine the comfort of lasagna with a garden-fresh note in each bite. That balance is why Zucchini Lasagna (No Noodles) has become my comfort-food compromise that doesn’t feel like a compromise.
Budget tip: zucchini is affordable most of the year, especially in summer. Stock up and make two pans. Eat one tonight and freeze the other for a future busy day.
Curious about pans? I love a deep, straight-sided baking dish because it helps layers stay uniform. If you’ve got a favorite casserole dish, that works. If not, here’s what I use most often: my go-to casserole dishes.
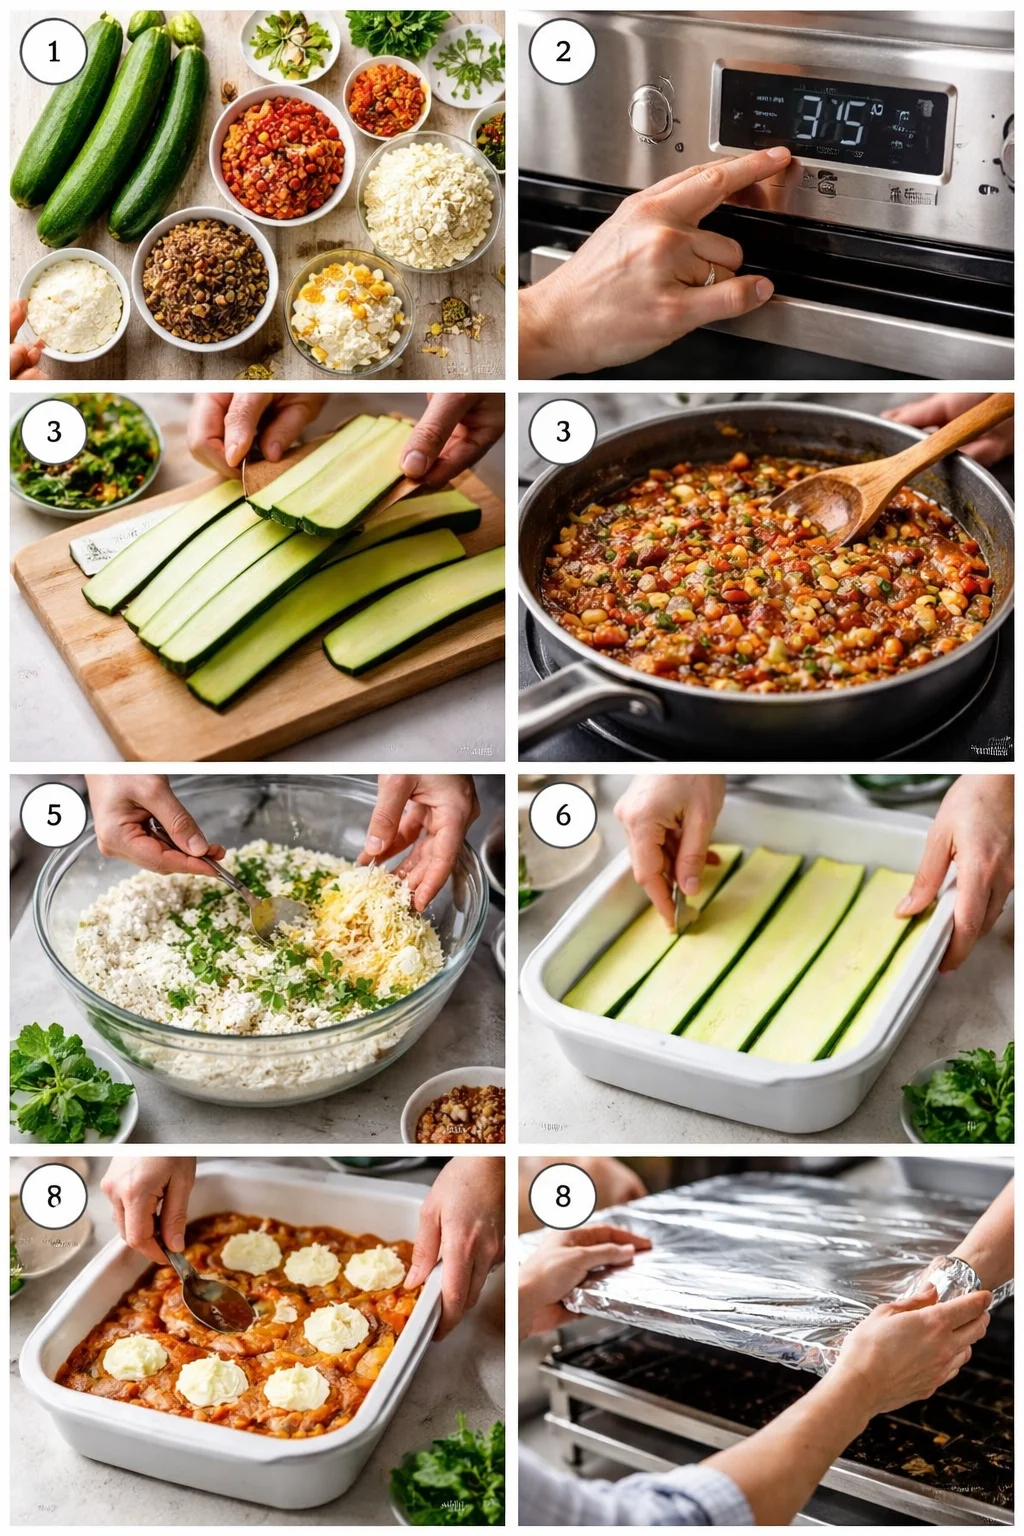
Ingredients List
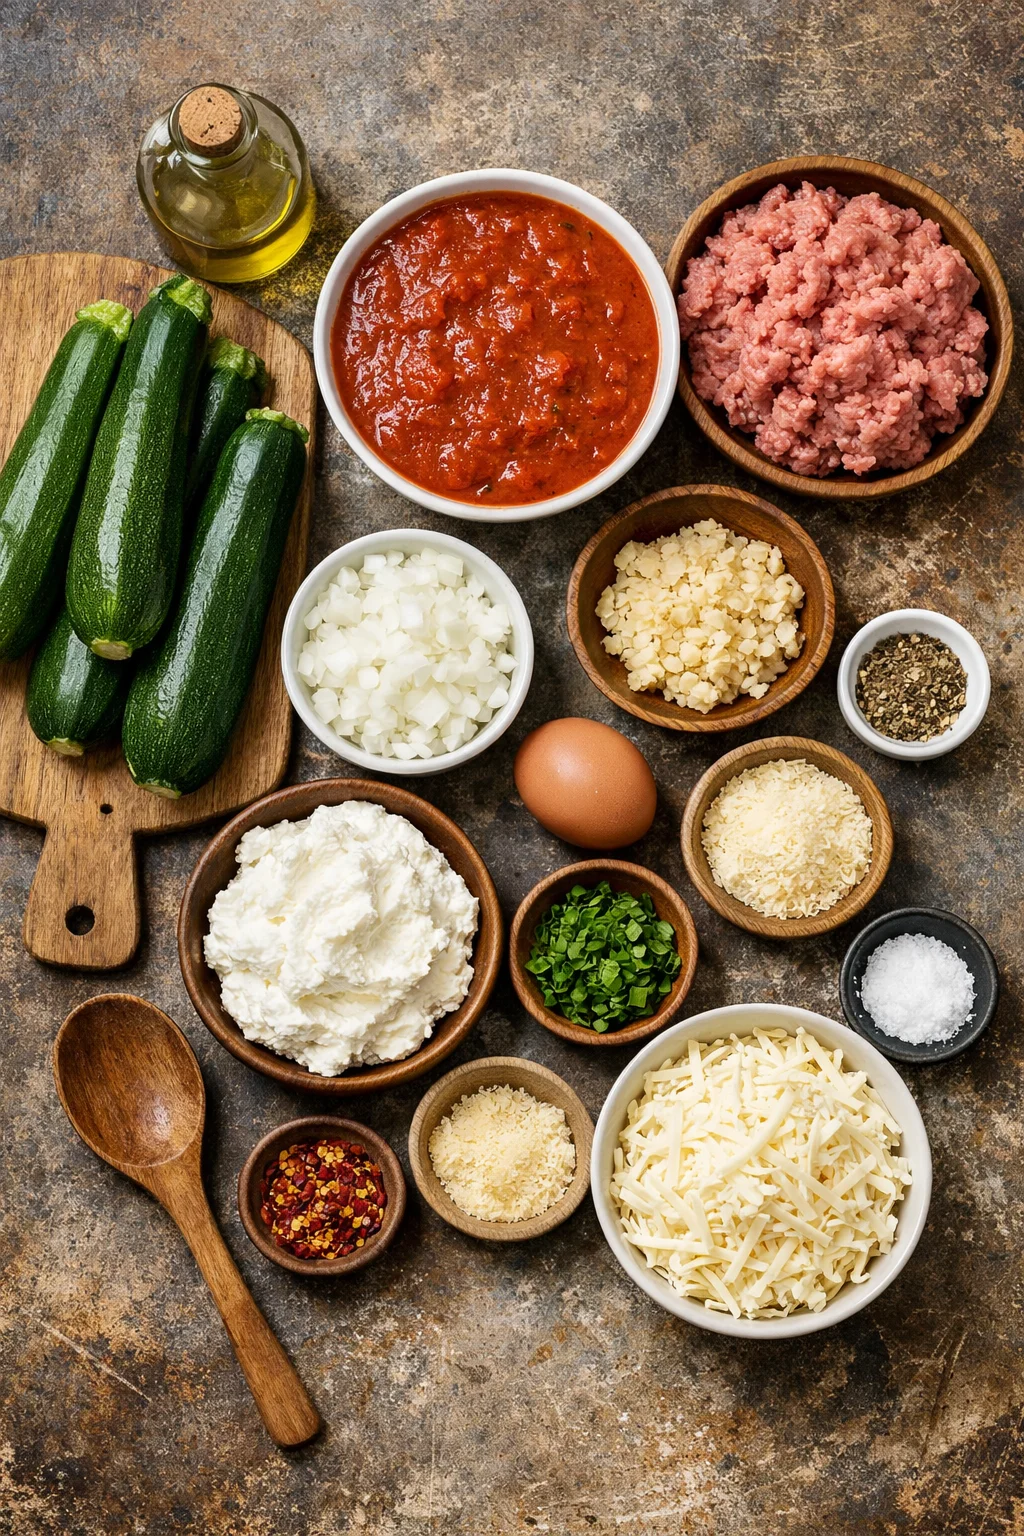
- 4 to 5 medium zucchini, firm and similar in size
- 2 cups marinara sauce, thick and not too watery (homemade or store-bought)
- 1 pound lean ground turkey or beef, optional but great for heartiness
- 1 small onion, finely chopped
- 3 cloves garlic, minced
- 1 cup ricotta cheese
- 1 large egg
- 1 cup shredded mozzarella, plus extra for topping
- 1/2 cup grated Parmesan
- 2 tablespoons chopped fresh basil or parsley
- Olive oil, salt, and pepper
- Pinch of red pepper flakes, optional
For the best sauce results, use a thick marinara. Too thin and you’ll add moisture back in. If you want to make your own, here’s my simple method: quick homemade marinara. Store-bought is fine. Just choose one that clings to a spoon.
Ingredient notes: ricotta makes it creamy, egg binds it, and Parmesan brings that savory pop. You can use cottage cheese if you blend it smooth, but strain it first so it’s not watery. And don’t skip fresh herbs if you can help it. A little basil or parsley makes every layer smell like a cozy Italian kitchen.
How to Slice Zucchini for Lasagna
Thickness matters
Slice lengthwise into long planks, about 1/8 to 1/4 inch thick. Too thin and they’ll fall apart. Too thick and they’ll take longer to soften. I aim for consistent slices so they cook evenly and stack neatly.
Tools that help
A mandoline makes fast, even slices, but a steady hand with a chef’s knife works fine. Trim a small piece off one side of the zucchini to create a flat base before slicing. That little hack keeps the veggie from rolling around and makes slicing safer and smoother. If you’re stocking up on tools, I wrote about what’s worth buying here: my spiralizer and slicer guide.
Removing Excess Water
Salt and rest
Lay your slices on a large sheet pan or cutting board, sprinkle lightly with salt, and let them sit for 15 to 20 minutes. You’ll see beads of moisture rise to the surface. Gently pat dry with paper towels. This simple step makes a big difference in keeping your layers firm.
Pre-bake or quick sauté
For extra insurance, you can pre-bake the slices on a sheet pan at 400°F for about 8 to 10 minutes, just until they release water and soften slightly. Or give them a quick sauté in a large skillet with a slick of olive oil. Don’t cook them fully. You just want to drive off some moisture so the lasagna can bake up sturdy, not soupy.
If you’re really in a rush, skip the pre-cook and just do a thorough salt-and-rest. It’ll still work. The key is not to drown your pan with sauce. Keep it modest and spread thinly between layers.
Layer-by-Layer Assembly
Ricotta mixture first
In a bowl, stir together ricotta, egg, half the Parmesan, a handful of mozzarella, a pinch of salt and pepper, and chopped herbs. This mix locks in flavor and gives that creamy center we crave. If using meat, brown it with onion and garlic in a skillet, season well, and stir in a little marinara to coat.
Now build it:
1. Spoon a thin layer of marinara in the bottom of your dish so nothing sticks.
2. Add a single layer of zucchini slices, slightly overlapping. Don’t double up here, or moisture will trap between them.
3. Spread a thin layer of ricotta mixture. A little goes a long way and helps layers set.
4. Add a scoop of meat sauce if using, or just more marinara, then a light sprinkle of mozzarella.
5. Repeat the zucchini, ricotta, sauce, and cheese stacks until you reach the top.
6. Finish with a final layer of zucchini, a spoon of sauce, and a generous handful of mozzarella plus the remaining Parmesan.
Tip: press gently after each zucchini layer to nudge out air pockets. It helps everything settle so you can cut clean slices later. Zucchini Lasagna (No Noodles) holds its shape best when layers are neat and not overloaded with sauce.
Baking Instructions
Preheat your oven to 375°F. Cover the dish loosely with foil and bake for 25 minutes. Then remove the foil and bake another 15 to 20 minutes until the top is bubbling and the edges are golden. If you like the top deeply browned, broil for 1 to 2 minutes at the end, keeping a close eye on it.
Important step: let the lasagna rest on the counter at least 15 minutes before cutting. This is when it firms up. If you slice too soon, juices will run and the layers may slide. Patience pays off here.
Serving idea: pair with a crisp green salad and garlicky roasted vegetables. It balances out the richness and adds a fresh crunch.
Make-Ahead Option
Two easy routes: assemble and refrigerate, or par-bake and finish later.
Assemble and chill: Build the entire lasagna, cover tightly, and refrigerate up to 24 hours. Bake as directed, adding an extra 5 to 10 minutes since it’s cold.
Par-bake: Bake covered for 20 minutes, cool, then refrigerate. When you’re ready to serve, finish baking uncovered until hot and bubbly. This approach is great when timing is tight and you want dinner ready fast.
Little hosting trick: make two small pans instead of one big one. Bake one tonight and keep the other for later in the week. Your future self will be thankful.
Storage & Freezing
- Fridge: Store leftovers in an airtight container for 3 to 4 days. Reheat in the oven at 350°F until warm, or microwave in short bursts.
- Freezer: Let the baked lasagna cool completely. Wrap individual portions tightly or the whole pan double-wrapped. Freeze for up to 2 months.
- Reheating from frozen: Thaw overnight in the fridge, then warm in the oven at 350°F until heated through. If reheating slices, add a tiny splash of water around the edges and cover with foil to prevent dryness.
Want more freezer-friendly ideas that actually reheat well? Check out my freezer-friendly meals guide.
Nutrition Information
Nutrition will vary based on the sauce and cheese you choose, but here’s a general snapshot for a hearty serving with lean turkey:
Approx per serving (1/8 of the pan): 280 to 350 calories, 20 to 28g protein, 10 to 16g carbs, 14 to 18g fat, and a nice dose of potassium and vitamin C from the zucchini. If you skip the meat and use part-skim cheeses, calories and fat dip a bit. If you go extra on cheese, it rises a bit. Nothing surprising here.
If you’re tracking carbs, this is a friendly option compared to traditional pasta lasagna. The flavors still deliver, and you won’t miss the noodles. Zucchini Lasagna (No Noodles) is satisfying, savory, and a balanced way to scratch that cozy-dinner itch.
Common Questions
How do I stop it from getting watery?
Salt and rest the slices, pat them dry, and go easy on sauce. Pre-bake the zucchini if your past attempts were soggy.
Do I have to use meat?
Nope. It’s great vegetarian. Add mushrooms or spinach to the sauce for a little extra substance.
Can I make it dairy-free?
Yes. Use a dairy-free ricotta and mozzarella alternative. Keep the rest of the steps the same and watch the browning at the end.
What size pan works best?
A 9×13 or similar capacity baking dish works great. If your slices are very thick, a deeper dish helps keep everything snug.
How long should it rest before slicing?
At least 15 minutes. If you wait 20 to 25 minutes, slices are picture-worthy.
Let’s Get Dinner On The Table
That’s everything you need to make a pan of Zucchini Lasagna (No Noodles) that’s saucy, sturdy, and full of cozy flavor. Keep the slices even, manage the moisture, and don’t overload the sauce. Once you nail those basics, it’s easy. If you want more step-by-step visuals and ideas, I like the detailed guides from Downshiftology’s zucchini lasagna recipe and this helpful take from Skinnytaste’s zucchini lasagna version as well. I hope you make it soon and enjoy every cheesy forkful.
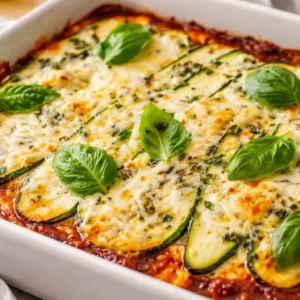
Zucchini Lasagna (No Noodles)
A light and comforting twist on classic lasagna using zucchini instead of pasta, rich in flavor and perfect for busy weeknights.
Ingredients
- 4 to 5 medium zucchini firm and similar in size
- 2 cups marinara sauce thick and not too watery
- 1 pound lean ground turkey or beef optional
- 1 small onion finely chopped
- 3 cloves garlic minced
- 1 cup ricotta cheese
- 1 large egg
- 1 cup shredded mozzarella plus extra for topping
- 1/2 cup grated Parmesan
- 2 tablespoons chopped fresh basil or parsley
- Olive oil salt, and pepper
- Pinch of red pepper flakes optional
Instructions
- Preheat your oven to 375°F.
- Slice zucchini lengthwise into long planks about 1/8 to 1/4 inch thick.
- Sprinkle zucchini slices lightly with salt and let them sit for 15-20 minutes to remove excess moisture.
- In a bowl, mix ricotta, egg, half of the Parmesan, mozzarella, salt, pepper, and chopped herbs.
- Spread a thin layer of marinara sauce on the bottom of your dish.
- Add a layer of zucchini, overlapping slightly.
- Spread a thin layer of the ricotta mixture over the Zucchini.
- If using meat, add a scoop of prepared meat sauce, otherwise add more marinara and a sprinkle of mozzarella.
- Repeat the layering process until you reach the top.
- Finish with a final layer of zucchini, a spoon of sauce, and the remaining mozzarella and Parmesan.
- Cover loosely with foil and bake for 25 minutes.
- Remove the foil and bake for an additional 15-20 minutes until bubbly and golden.
- Let rest for at least 15 minutes before slicing to allow the layers to firm up.
Notes
For the best results, use a thick marinara sauce. You can make this dish a day in advance by assembling it and refrigerating until ready to bake.