
Stay Connected with Low Carb Glow

Gut-Healing Bone Broth (Low-Carb)

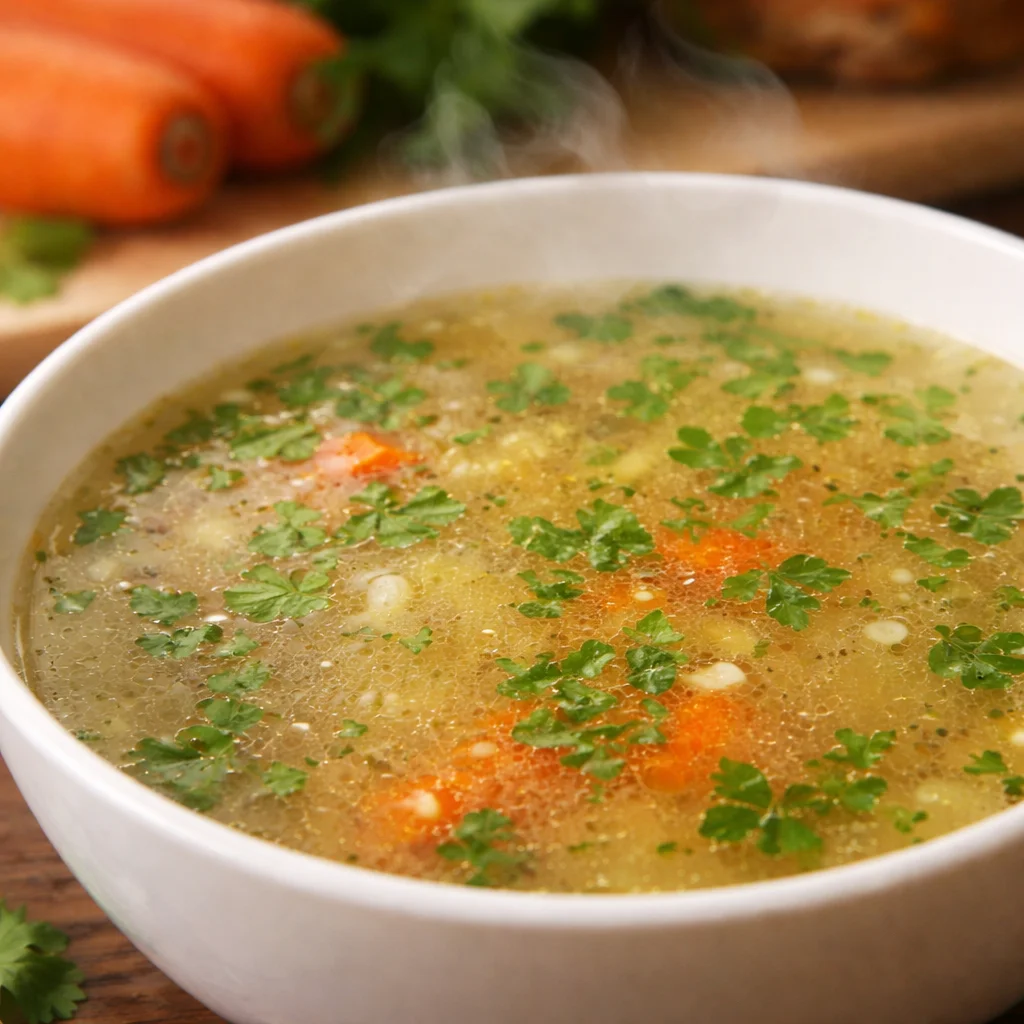
gut-healing bone broth saved my stomach on busy weeks when nothing else sounded good. If you’ve dealt with bloating, random tummy aches, or just low energy, I’ve been there. I started sipping a warm mug of broth in the afternoon, and wow did things settle down. It’s simple to make, low in carbs, and you can tweak the flavor to your taste. I’ll show you how I do it at home, with easy steps and ingredients you can find anywhere. Ready to simmer something soothing together?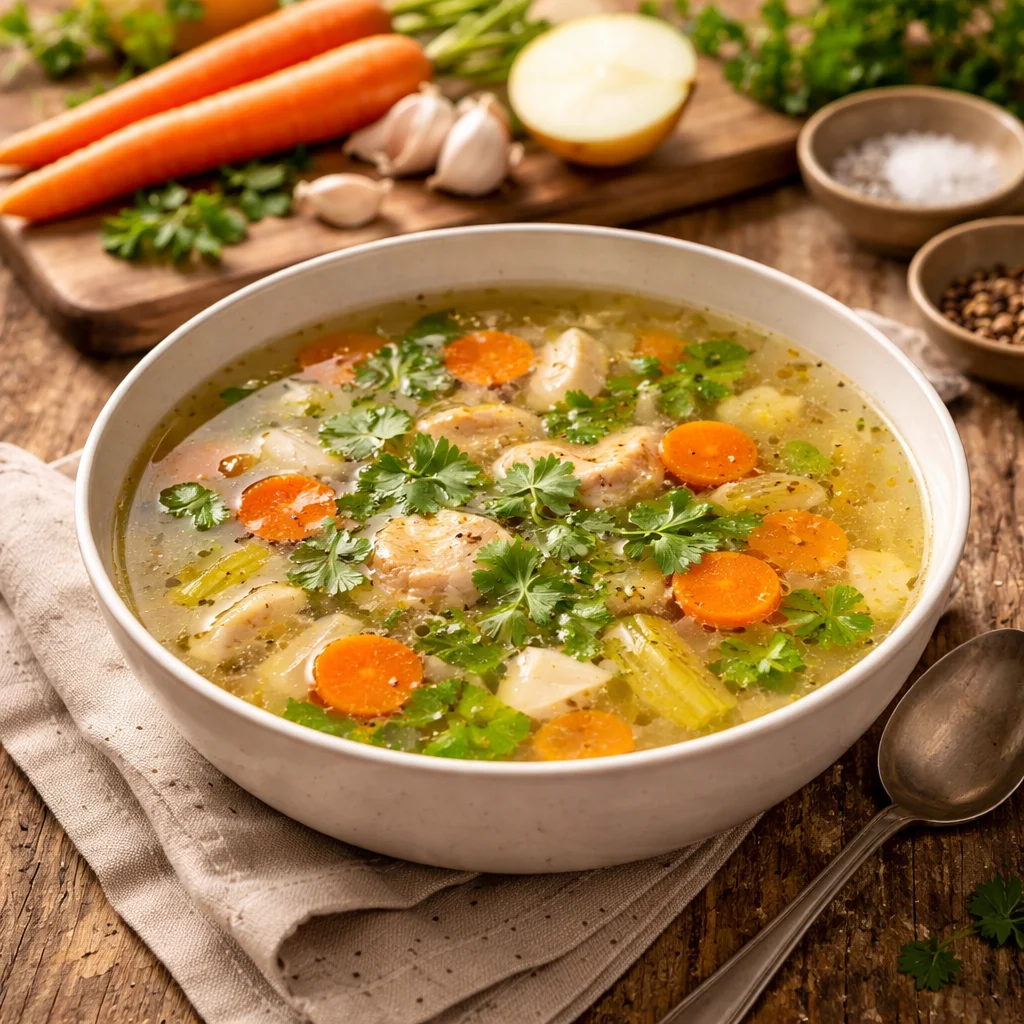
Introduction & Gut Health Benefits
I first started making this at home after a holiday season of heavy food. My belly needed a reset, and I wanted comfort without carbs. This gut healing bone broth checks both boxes. It’s rich, savory, and gentle on digestion. When it cools, it gels a bit thanks to the natural collagen and gelatin that come from long, slow simmering. That jiggly set is a great sign you pulled the good stuff from the bones.
Why does that matter for your gut? Gelatin carries the amino acids your body uses to support the lining of your digestive tract. The warm liquid is also easy on the stomach and hydrates you with minerals. I love sipping a mug before meals to wake up digestion in a calm way. If you want more soothing soup ideas, I also lean on this gentle, veggie-filled option when I need a reset: anti-inflammatory cabbage soup.
Why Bone Broth Heals
There’s a reason traditional kitchens always had a pot of bones simmering. Bones, joints, and connective tissue hold building blocks your body loves: glycine, proline, and glutamine. These are amino acids that help your gut feel supported and your skin feel plump. Slow simmering coaxes those nutrients into the water, turning simple bones into a flavorful, mineral-rich broth.
My favorite part is how customizable it is. Keep it plain and savory for sipping, or add herbs for a brighter flavor. Either way, it’s naturally low carb, so it fits a keto or low-carb lifestyle without fuss. If you’re into cozy bowls, you might also enjoy this punchy, comforting pot of goodness: healing garlicky cabbage soup. It pairs really well with a mug of broth on the side.
Ingredients List
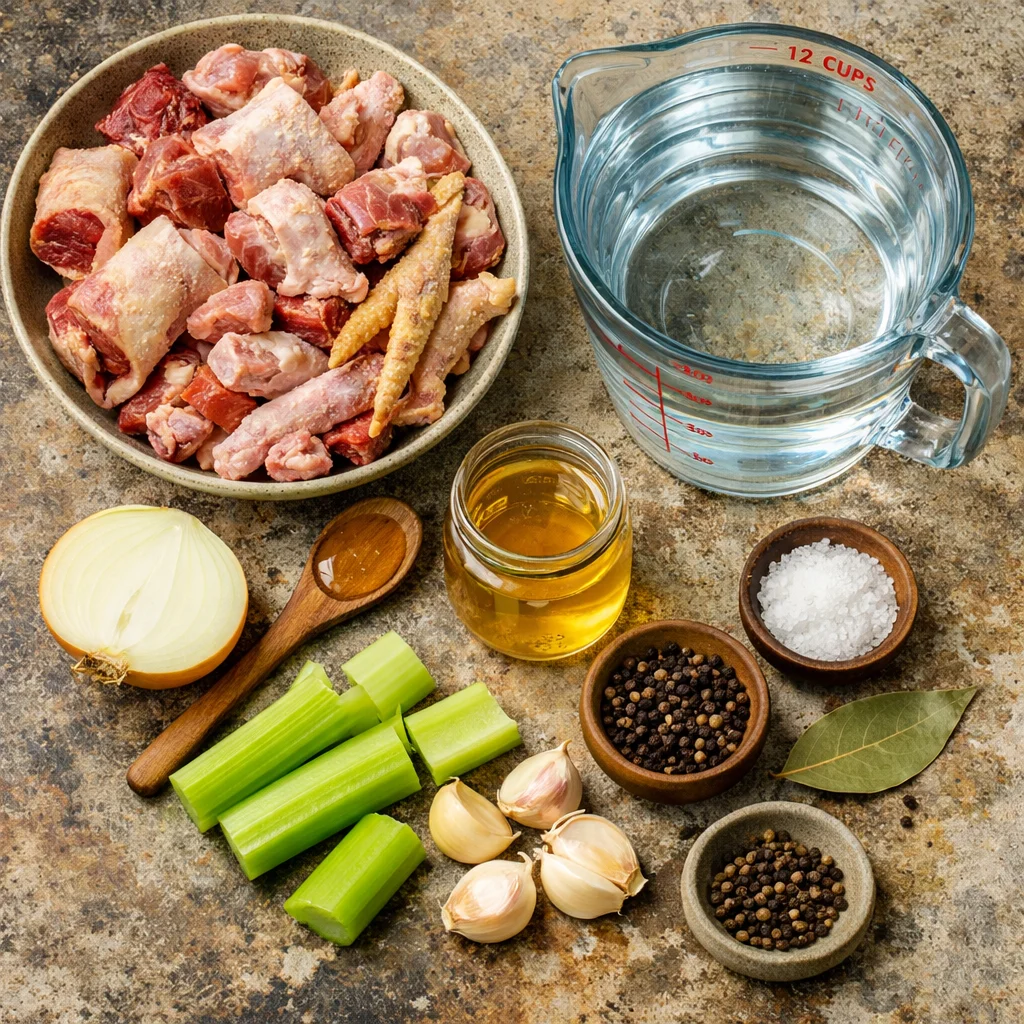
- 3 pounds mixed bones (chicken backs, wings, and feet, or beef knuckles and marrow bones)
- 12 cups water, more as needed
- 2 tablespoons apple cider vinegar
- 1 small onion, halved (optional, skip for strictest low carb)
- 2 celery ribs, roughly chopped
- 4 garlic cloves, smashed
- 1 bay leaf
- 1 teaspoon whole peppercorns
- 1 teaspoon sea salt to finish, or to taste
- Optional: a small piece of fresh ginger, a few parsley stems, or a pinch of turmeric
Tip: Use onion and celery for flavor, but feel free to reduce or skip them to keep carbs ultra low. Garlic adds tons of aroma with minimal carbs, so I always toss it in.
Choosing Bones
The bones you pick will shape the flavor and texture. Here’s what I’ve learned from a lot of batches:
Chicken bones: Mild flavor, light golden broth, and they gel beautifully. Feet and wing tips are tiny collagen powerhouses, so toss them in if you can find them. Carcasses from roasted chickens are great too.
Beef bones: Rich flavor and a deeper color. Use a mix of beef knuckles, joints, and some marrow bones. Roasting the bones first makes the broth darker and more savory. I do 425°F for 30 to 40 minutes until they get some color.
Pork bones: Delicious but can be a bit cloudy. If you use pork, blanch the bones for 5 minutes first, then drain, rinse, and proceed with fresh water.
I usually rotate between chicken and beef depending on what’s on sale. And when I want to double down on gentle, gut-friendly meals, I pair my broth days with simple soups like this cabbage detox soup. It’s a nice way to keep variety while staying low carb.
Slow Cooker vs Stovetop
Slow Cooker Method
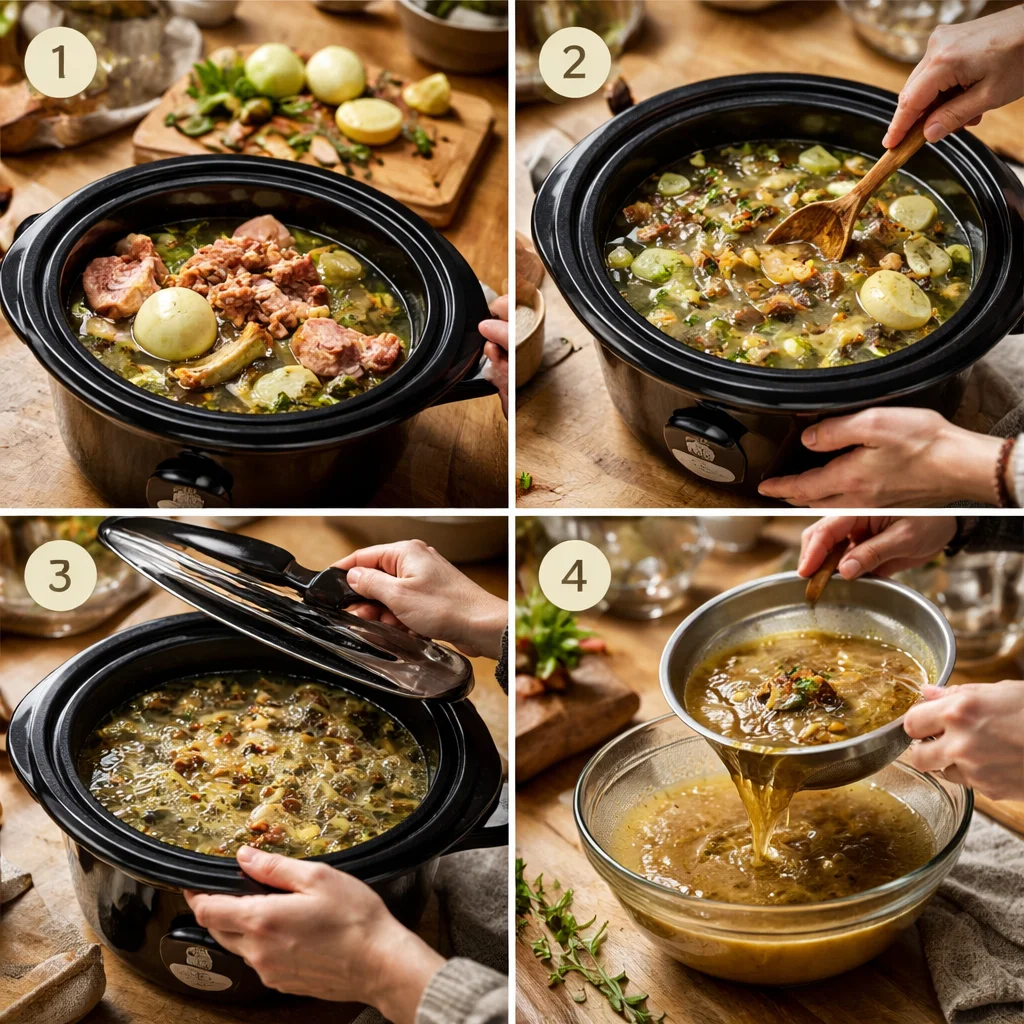
When I’m busy, the slow cooker wins. Add bones, water, vinegar, onion, celery, garlic, bay leaf, and peppercorns. Set it on low for 12 to 24 hours. Check a few times to make sure bones are covered, and add hot water if needed. Strain, season to taste, and you’re done.
Stovetop Method
Grab a large stockpot and cover the bones with water by 2 inches. Add vinegar and the aromatics. Bring to a very gentle simmer, then lower the heat so only a few tiny bubbles pop at the surface. Skim any foam during the first hour for a cleaner broth. Keep it low for 8 to 18 hours for chicken, 12 to 24 for beef. Top up with hot water as needed.
Both methods work. The key is patience and a soft simmer. If it boils hard, it can get cloudy and taste harsh. Slow and calm is the move.
Adding Vegetables & Herbs
Keep it simple. I like onion, celery, garlic, and bay leaf. For extra zing, a small slice of ginger is lovely. If you want an herby finish, add parsley and a squeeze of lemon right before straining. That keeps the flavors bright instead of dull.
Want more veggie-forward, gut-soothing ideas you can sip? Here’s a favorite that stays friendly to low-carb goals while feeling super cozy: garlicky cabbage soup. I make a batch of that and a pot of broth on the same weekend, and I feel set for days.
Simmering Time
How long should you simmer? For chicken, I like 12 to 18 hours. For beef, 16 to 24 hours. At the 12-hour mark you’ll already have something tasty, but the longer simmer gives more body and a deeper flavor.
If the pot gets too full of bubbles, lower the heat or shift the lid slightly so steam can escape. Keep the bones just covered. When it cools and sets with a light jiggle, that’s your sign you did great. If it doesn’t gel, don’t stress. It still tastes good and is still useful.
Straining & Storing
Set a large bowl with a fine mesh strainer on top, then pour the broth through. If you want it extra clear, line the strainer with cheesecloth. Cool it quickly and chill in the fridge. The fat will rise and solidify on top overnight. You can keep some for richness or lift it off to save as cooking fat. Beef fat becomes tallow, chicken fat becomes schmaltz. Both are handy for searing veggies or eggs.
Storage tips I love:
Fridge: 4 to 5 days in sealed jars. Freezer: up to 3 months. Freeze some in ice cube trays for quick sauces. Label with date and whether it’s chicken or beef. Trust me, your future self will thank you.
Usage Ideas
- Sip a warm mug with a squeeze of lemon and a pinch of sea salt.
- Use as the base for quick soups and stews, especially on low-carb days.
- Deglaze a pan after cooking meat to make a fast pan sauce.
- Blend into cauliflower mash instead of milk for a lighter, savory twist.
- Cook cabbage or greens in it for boosted flavor with minimal carbs.
- Make a healing bowl: broth, shredded chicken, a handful of spinach, and herbs.
If you like pairing it with something simple and soothing, a big pot of this gentle gut-friendly cabbage soup makes a perfect match for your broth-sipping day.
Nutrition Information
Homemade broth varies based on bones and water ratio, but here’s a helpful ballpark for 1 cup of chicken or beef broth made this way:
Calories: about 30 to 60
Protein: about 7 to 10 grams
Fat: 0 to 3 grams, depending on how much fat you leave in
Carbs: typically 0 grams, maybe 1 gram if you add extra veggies
Sodium: varies, especially if you salt at the end
I like to salt lightly during cooking and finish each mug with a pinch of sea salt and a squeeze of lemon. That way you control how salty it tastes in the cup or in recipes.
Learn more about the science behind gut-healing low-carb eating in our complete Low-Carb Gut Health Guide — covering the gut-blood sugar connection, the gut-healing food hierarchy, and a full 4-week protocol.
Common Questions
Can I make it without vinegar?
Yes, but a splash of apple cider vinegar helps pull minerals from the bones. You won’t taste it, and it improves the gel.
Why didn’t my broth gel?
It might need more joint-rich bones like chicken feet or beef knuckles, or a longer simmer. It’s still great to drink or cook with.
Is this freezer friendly?
Very. Freeze in jars with headspace or in silicone trays. Thaw in the fridge or reheat gently on the stove.
Can I pressure cook it?
Yes. Instant Pot on high pressure for 2 hours with natural release makes a solid broth. It’s slightly different in flavor but still delicious.
When do I add salt?
I mostly salt at the end. As it reduces, salt intensifies. Finishing salt gives you better control.
Warm Spoonfuls and Final Thoughts
Making gut healing bone broth at home is simple, soothing, and budget friendly. Stick to a gentle simmer, use a mix of collagen-rich bones, and finish with salt to taste. My routine is a weekend simmer, then mugs through the week for calm, cozy nourishment. If you want to dig deeper into the science, this research overview on bone broth benefits and gut support is a great place to start, and this approachable guide to gut healing chicken bone broth offers helpful perspective. I hope this inspires you to keep a pot simmering and a mug ready for your own low-carb comfort.

Gut-Healing Bone Broth
A simple, soothing bone broth rich in collagen and gelatin, perfect for gut health and comfort during busy weeks.
Ingredients
- 3 pounds mixed bones chicken backs, wings, and feet, or beef knuckles and marrow bones
- 12 cups water more as needed
- 2 tablespoons apple cider vinegar
- 1 small onion halved (optional)
- 2 celery ribs roughly chopped
- 4 garlic cloves smashed
- 1 bay leaf
- 1 teaspoon whole peppercorns
- 1 teaspoon sea salt to taste
- Optional: a small piece of fresh ginger a few parsley stems, or a pinch of turmeric
Instructions
- Add bones, water, vinegar, onion, celery, garlic, bay leaf, and peppercorns to a slow cooker. Set on low for 12 to 24 hours.
- Alternatively, in a large stockpot, cover bones with water by 2 inches, bring to a simmer, and simmer gently for 8 to 24 hours.
- Add hot water as needed to keep bones covered.
- Strain the broth through a fine mesh strainer and cool it quickly.
- Chill in the fridge; the fat will rise and can be removed or kept for cooking.
Notes
Store in sealed jars in the fridge for 4 to 5 days or freeze for up to 3 months.